Visual Studio Code Development Environment
Visual Studio Code is a powerful code editor and development environment with a rich ecosystem of extensions. It runs on multiple operating systems (Linux, Windows, and macOS) and supports a wide range of programming languages and features.
Installing and Configuring Visual Studio Code
Visual Studio Code is available at this link, where you can download the appropriate version for your operating system.
In addition to the base application, you can install extensions that will make working with SLING clusters easier (C/C++, OpenCL, Python, Remote - SSH, and many others).
Installing the Remote - SSH Extension
The Remote-SSH extension for Visual Studio Code allows users to connect to a remote system over the SSH protocol. With this extension, you can transfer and edit files directly on the remote system, run commands, and even debug programs running on it.
The following steps describe how to configure Visual Studio Code for working on the Arnes cluster. A general guide on connecting to SLING clusters is available here.
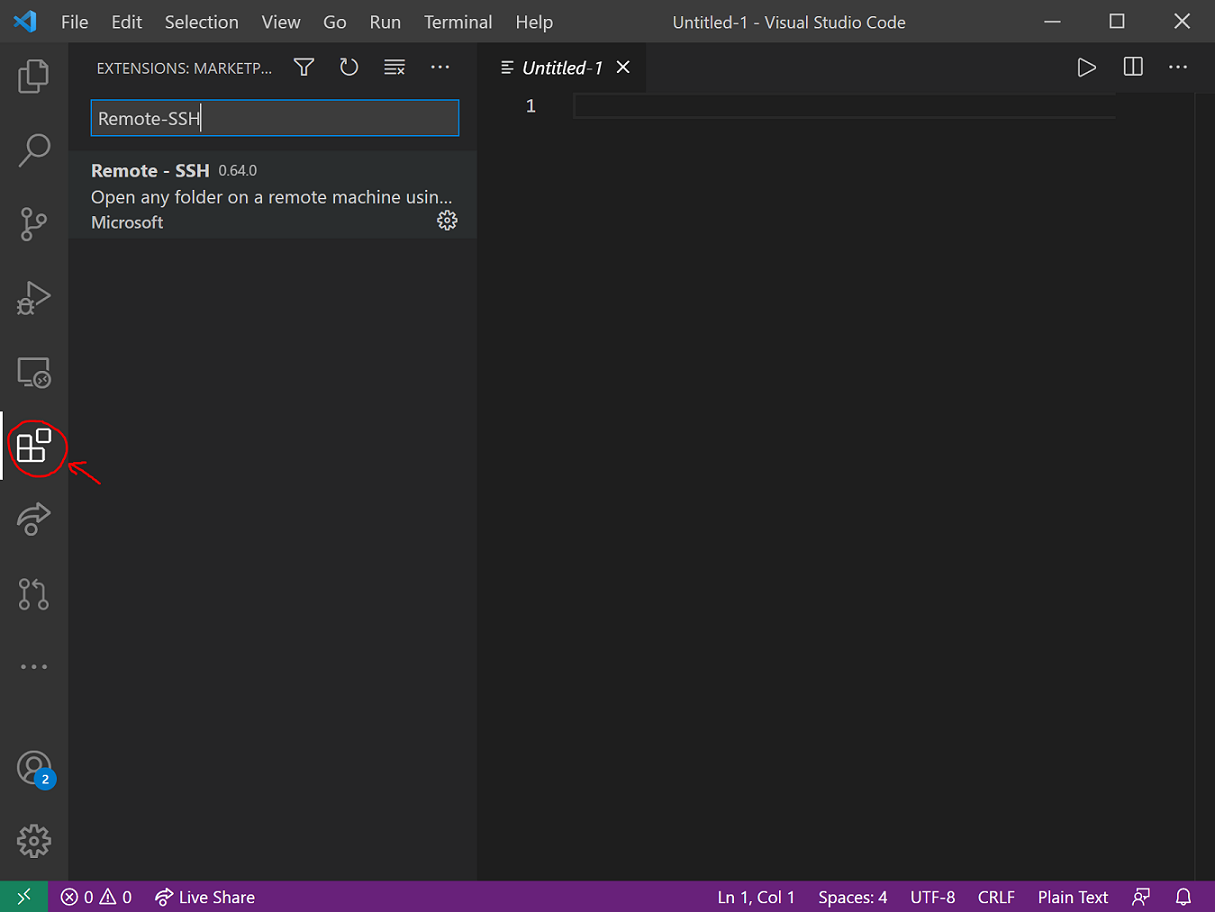
You can install the extension via this link or directly inside Visual Studio Code using the Extensions activity, found in the toolbar on the left edge (the highlighted button in the image below). Type Remote-SSH in the search box, select the extension from the results, and click Install.
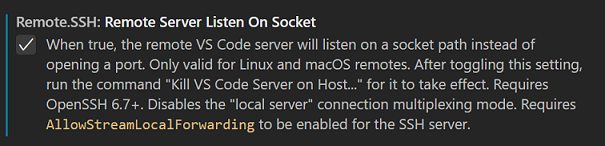
After installation, open File→Preferences→Settings→User and search for (use the search bar) and enable Remote.SSH: Remote Server Listen On Socket. This improves the security of your sessions when multiple users access the remote system simultaneously.
Connecting to the Login Node
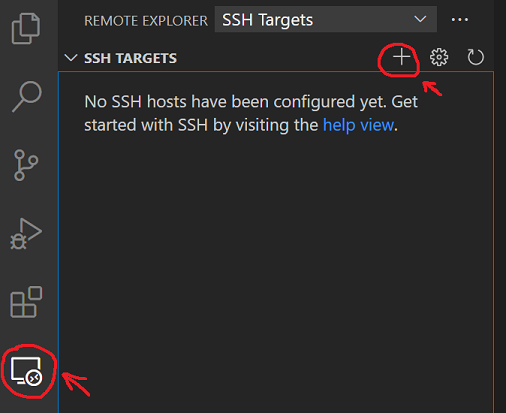
You can now add a new SSH connection in Visual Studio Code. To do so, select Remote Explorer in the toolbar and then click Add New.
In the input box, enter the appropriate SSH command to connect to your user account on the remote system. An example command for the user account sling001 is shown in the image below. Press Enter. Visual Studio Code will ask which file you want to save the connection configuration to. Select the first (default) option and press Enter again.

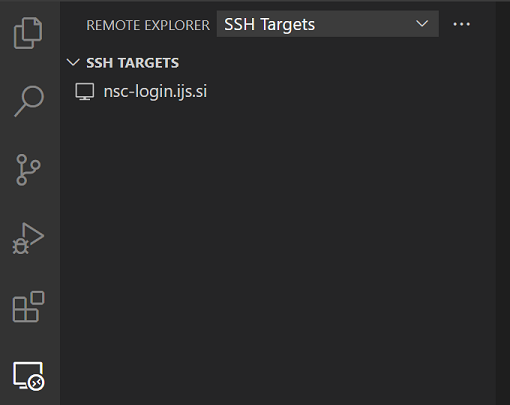
The new remote system is now available in the Remote Explorer activity. To connect to it, right-click on the connection name and select Connect to Host in Current Window.
Visual Studio Code will establish a connection to the remote system. If this is your first time connecting, you will need to:
- first select the system type: choose
Linux,

- confirm its fingerprint by clicking
Continue, and

Warning
For security reasons, password-based login to SLING clusters is typically disabled. You therefore need to set up SSH key authentication. Instructions on how to do this can be found below. The use of two-factor authentication (2FA) is also standard practice. Instructions for configuring 2FA can be found here.
- enter your password to log in.
A terminal will open at the bottom of the window.
Browsing the Login Node
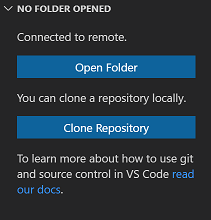
After logging in, a panel with an Open Folder button will appear on the left. If it does not open automatically, select the Explorer activity (the first icon in the toolbar) to access it.
Click the Open Folder button and select the directory on the remote system that you want to open (choose the default option). The connection to the remote system will be re-established and may prompt you to enter your password again.
A file tree of your home directory on the remote system will appear on the left. You can use it to open, create, delete, and copy files and directories, as well as transfer files to and from the remote system.
Terminal (Command Line)
If the terminal is no longer visible, reopen it via View→Terminal.
Closing the SSH Connection
The connection can be closed via File→Close Remote Connection.
SSH Key Login
We recommend connecting to the remote system without entering a password. To do this, you need to create an SSH key on your computer and publish the public part of the key in the SLING system. Instructions are available here. Once you have successfully created your key and registered the public part with the SLING network via the fido portal, you can use it in Visual Studio Code as follows:
- In the main menu, select
View→Command Paletteand search forRemote-SSH: Open Configuration File. - Select the file in which you previously saved the new connection configuration (usually the first option).
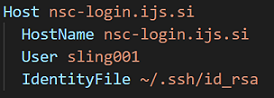
- In the configuration file, under the appropriate connection, add the entry
IdentityFile ~/.ssh/id_ed25519, assuming your private login key is stored in~/.ssh/id_ed25519. - Save the configuration file.
The next time you connect, Visual Studio Code should no longer ask for your password.
Happy coding!